Gauge Pole Covers
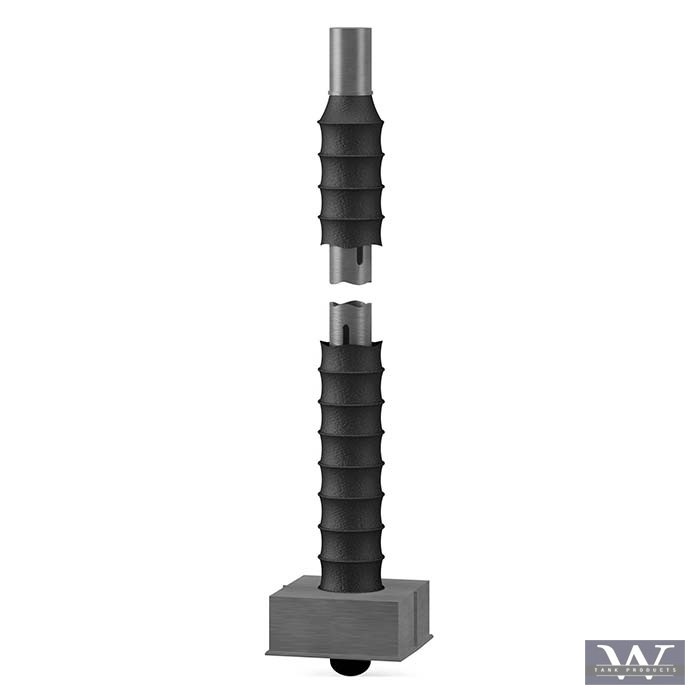
URETHANE & TEFLON GAUGE POLE COVERS
Product Specifications Available Upon Request
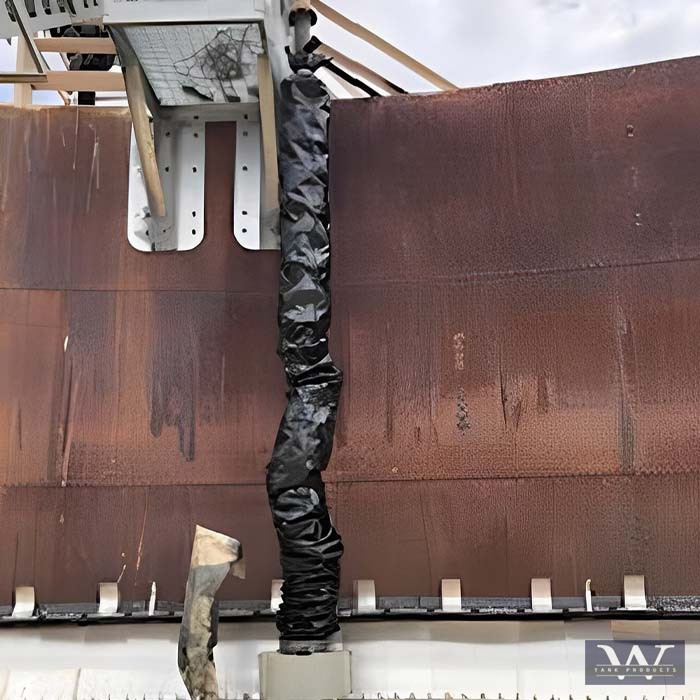
GAUGE POLE COVER TRANSITION BOXES
Product Specifications Available Upon Request
Gauge Pole Cover Installation Process
Step 1
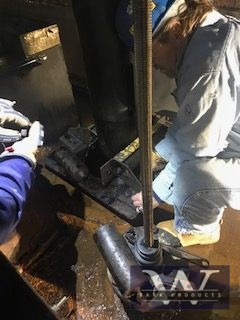
Loosen roller brackets so that the transition box can slide underneath if necessary.
Step 2
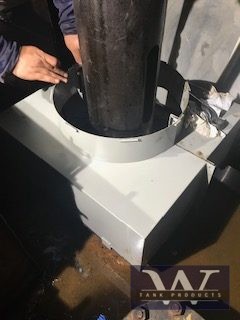
Check the transition box on all 4 corners assuring that the transition box completely slides underneath the roller brackets.
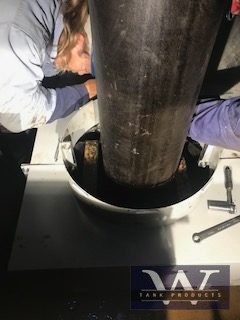
Step 3
Check all "L" angle brackets underneath the transition box assuring that the "L" brackets underneath will fasten to the underside of the Gauge Well.
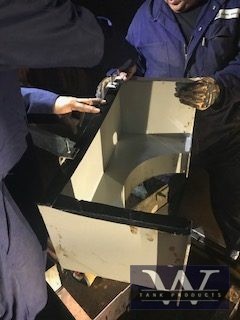
Step 4
Install foam sealing tape along the underside of the transition box and between the two halves.
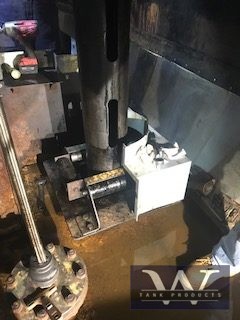
Step 5
With the roller brackets loose, install the transition box on the Shell side of the tank 1st, then tighten the roller brackets. Install the 2nd half of the transition box under the loosened roller brackets, then tighten. Fasten both sides of the transition box assuring foam tape is between the halves where they fasten firmly with stainless steel hardware.
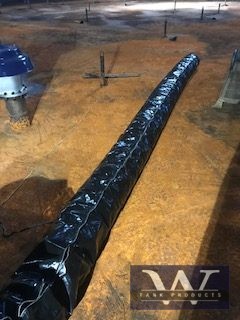
Step 6
Layout the GPC on the topside of the floating roof and unzipper it completely with the topside facing the Gauging Well.
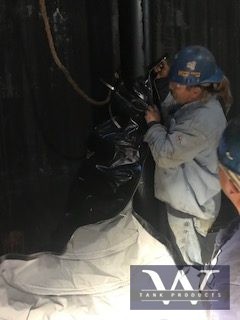
Step 7
After the GPC is completely unzipped, install the topside 1st by zipping the two sides together. Once zipping is achieved, drop a rope from the gauging platform above and fasten the ropes to the Loop Handles provided on the topside of the GPC.
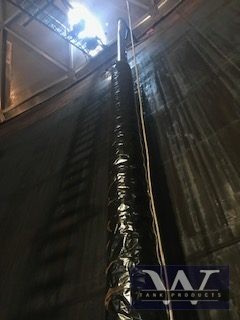
Step 8
As you zip below, pull the rope slowly upward until the GPC reaches the underside of the platform or 12" above the last slot on the gauge pole and fasten
with two stainless steel worm gear clamps provided above.
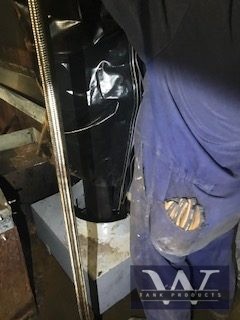
Step 9
Below the transition box, fasten the bottom end of the GPC to the transition box with the stainless steel worm gear clamp provided.
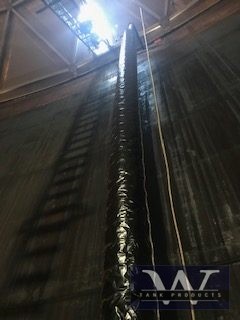
Step 10
Complete Successful Installation

Step 1
Loosen roller brackets so that the transition box can slide underneath if necessary.

Step 2
Check the transition box on all 4 corners assuring that the transition box completely slides underneath the roller brackets.

Step 3
Check all "L" angle brackets underneath the transition box assuring that the "L" brackets underneath will fasten to the underside of the Gauge Well.

Step 4
Install foam sealing tape along the underside of the transition box and between the two halves.

Step 5
With the roller brackets loose, install the transition box on the Shell side of the tank 1st, then tighten the roller brackets. Install the 2nd half of the transition box under the loosened roller brackets, then tighten. Fasten both sides of the transition box assuring foam tape is between the halves where they fasten firmly with stainless steel hardware.

Step 6
Layout the GPC on the topside of the floating roof and unzipper it completely with the topside facing the Gauging Well.

Step 7
After the GPC is completely unzipped, install the topside 1st by zipping the two sides together. Once zipping is achieved, drop a rope from the gauging platform above and fasten the ropes to the Loop Handles provided on the topside of the GPC.

Step 8
As you zip below, pull the rope slowly upward until the GPC reaches the underside of the platform or 12" above the last slot on the gauge pole and fasten
with two stainless steel worm gear clamps provided above.

Step 9
Below the transition box, fasten the bottom end of the GPC to the transition box with the stainless steel worm gear clamp provided.

Step 10
Complete Successful Installation
